Help - Questions / Answers
Times / Expenses
- How are valued the times entered by collaborators?
- How do quantity times work for re-invoicing produced quantities?
- How do I complete the history of cost prices and sales prices applicable to employees?
- How do I calculate an employee’s hourly cost price?
- How do I enable time line and expense approval features?
- Why are certain billable tasks missing from task proposals when entering time?
- How can I enter an internal wording on time which will not be mentioned in the invoice when re-invoicing time?
- How do I enter time spent and analyze my activities?
- How to manage the entry of mileage expenses?
- Can I associate several supporting documents with a single entry of expenses incurred?
- How to import times to quantity from Excel?
- How can I efficiently correct or reclassify time entries in bulk?
Times are calculated when created or modified (excluding wording) according to the rules below. If these rules change, the lines are not recalculated automatically, you must use « Tools > Recalculation of times / new rates », paying close attention to the desired recalculation scope.

* The cost prices and selling prices of collaborators (PR COL and PV COL) defined for the valuation of time can be used at your convenience:
- either the current rates of the Collaborator file (Remuneration tab: you can manually enter the Collaborator Sale Price and the Collaborator Cost Price or enter the information for "Remuneration" and "Time" then tick "Automatic calculation of the PR Col" to calculate the cost price automatically);
- either the historical rates, kept or entered in advance. When modifying the file of a collaborator, you can put an effective date, in order to feed this history. And you can also manually modify this history.
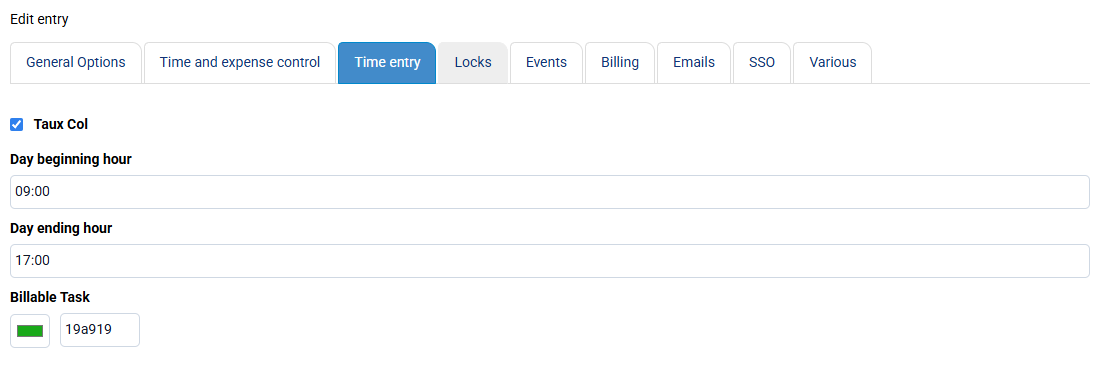
This time valuation mode (which refers to the collaborator file or to the history) is managed on the « Configuration > General options » page, "Time entry" tab.
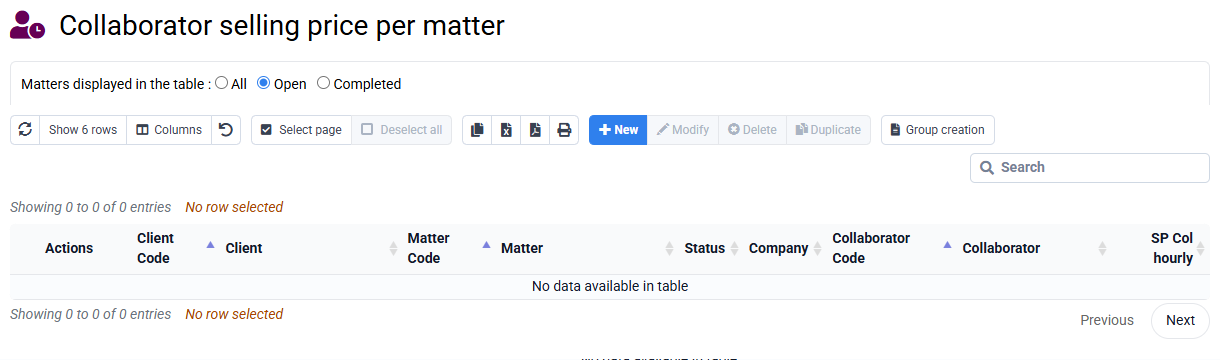
If necessary, specific collaborator selling prices (PV COL) per matter can be entered on the « Collaborators > Collaborator selling price per matter » page. When a specific rate per matter has been entered, it is retained in priority over the standard rate (current or historical COL PV) for the valuation of budgeted or spent time for this collaborator and this matter.
Consequently, if the sale price of a timeline is not what you want:
- Check if there is a sale price specific to the timeline deal,
- Failing this: check in « Configuration > General options » that the use of rate history is activated or not,
- Failing this: recalculate the valuation of this line with « Tools > Recalculation of times / new rates ».
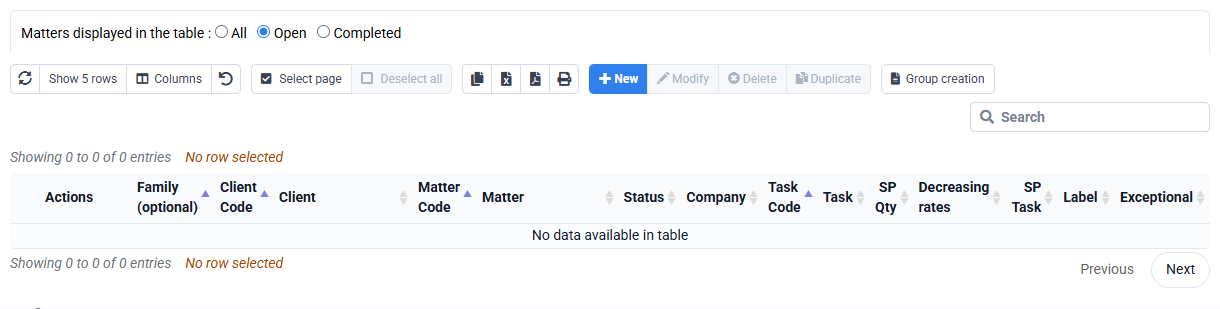
* Billable tasks valued by quantity have a value defined according to the "PV Quantity" multiplied by the quantity entered in a time line.
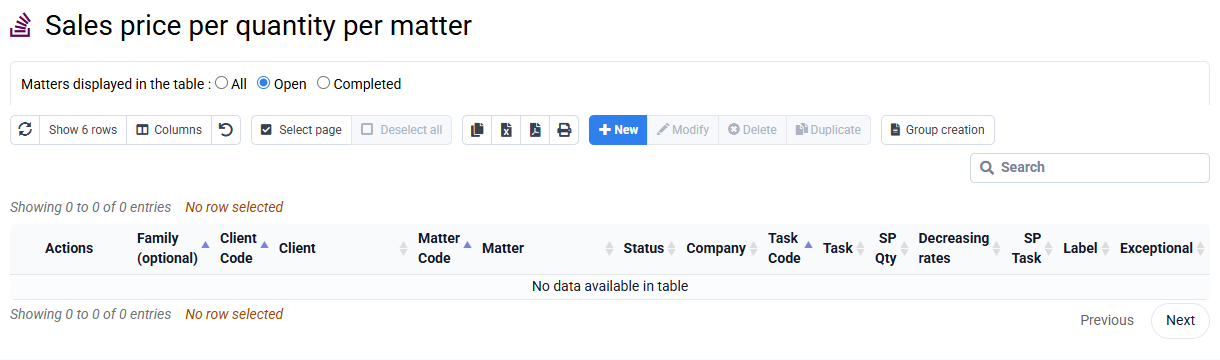
If needed, specific quantity selling prices (PVQ) per job can be entered on the « Configuration > Task selling prices per job » page.
Quantity-based time allows you to measure the amount of work produced on a task. The employee can enter how many production units were completed during this time (e.g., 12 pay slips, 3 tax returns, 1 DSN, etc.). This allows you to bill for quantities produced rather than time.
To configure a task as billable by quantity, go to the « Configuration > Billable Task Codes » page and check "Billable by Quantity." You can specify a "Quantity PV" used by default to calculate the value of the production entered; You can also go to the « Configuration > Sales Prices per Job » page, which allows you to enter sales prices based on quantities specific to each job.
The "Quantity" column is only displayed if access rights allow it on the "Collaborators > Login and Collaborator Rights" page.
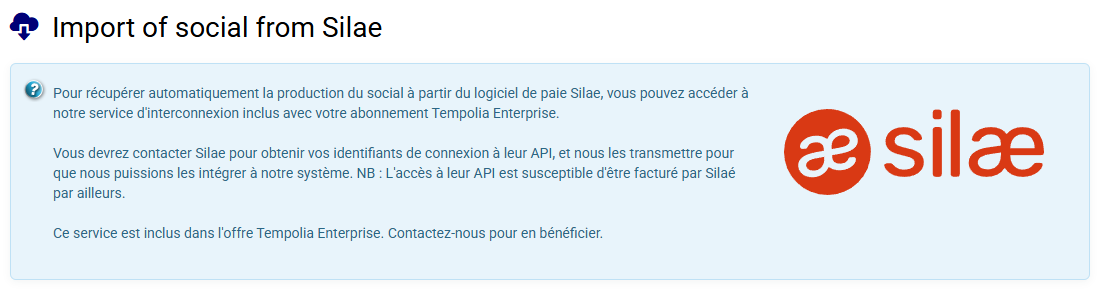
Quantities can be entered at the same time as a time entry, or in a separate entry, and can also be imported from a CSV file. You can also automatically retrieve production from the Silae payroll software API.

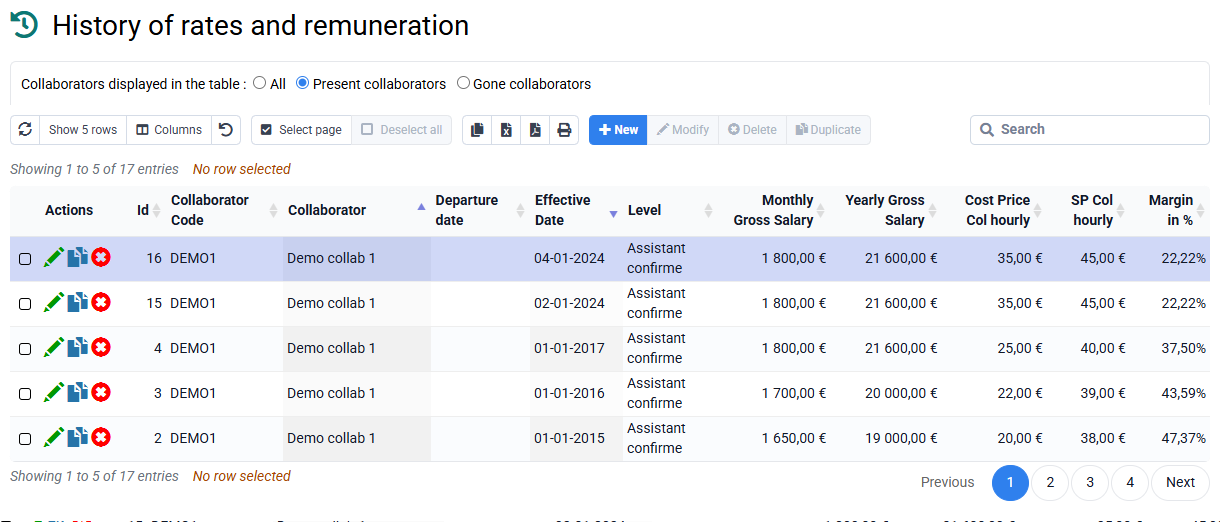
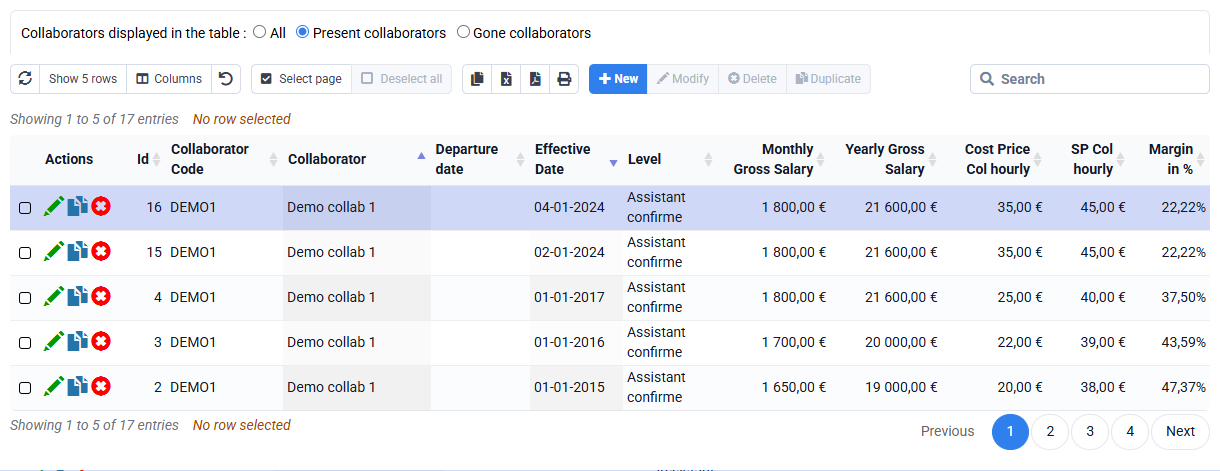
The « Employees > Rate and remuneration history » page contains lines that were created either:
- manually directly through this page,
- or when, on the "Employees" page, in an employee record under the "Remuneration" tab, an effective date is entered. The employee’s cost price and sales price are then historized on that effective date. See the message at the bottom of this tab: "NB: enter an effective date to historize a CP / SP change". The effective date is not stored in the employee record; it is only used to insert this information into the history on a one-off basis.
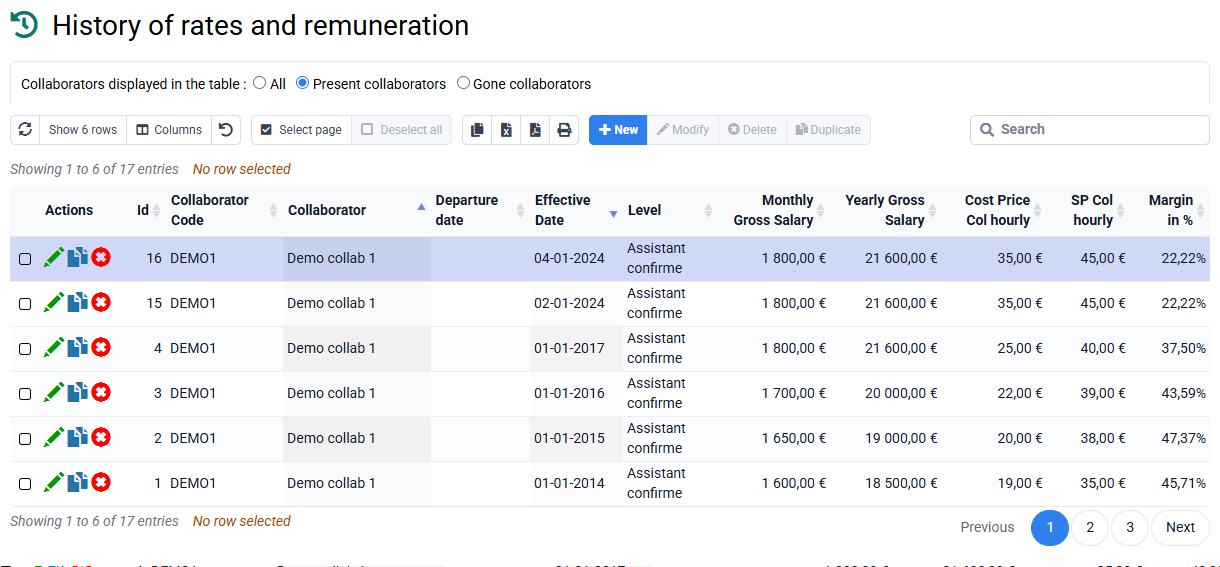
If an employee has no history, the best approach is to use this second process by entering an effective date.
For old periods whose past rate evolution you want to complete, you can complete the history by clicking New on the « Employees > Rate and remuneration history » page.
Tempolia offers a calculation method for employees’ hourly cost prices:
Employee CP = [Annual cost Salary + Charges + Expenses / (annual presence time x Percentage of billable time) ]
This is not the only possible method, and you can manually enter hourly cost prices in employee records if you prefer to calculate them independently.
Annual presence time is typically 1,607 hours for a person working 35 hours per week. Depending on your approach, the percentage of billable time may be 100% if you want to value all time, or less if you want to exclude non-productive time and allocate its cost over productive hours.
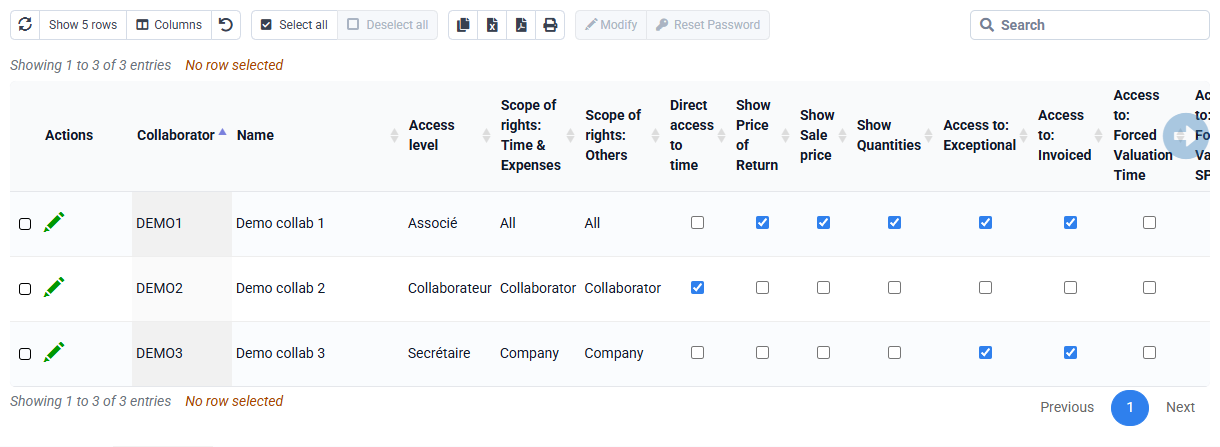
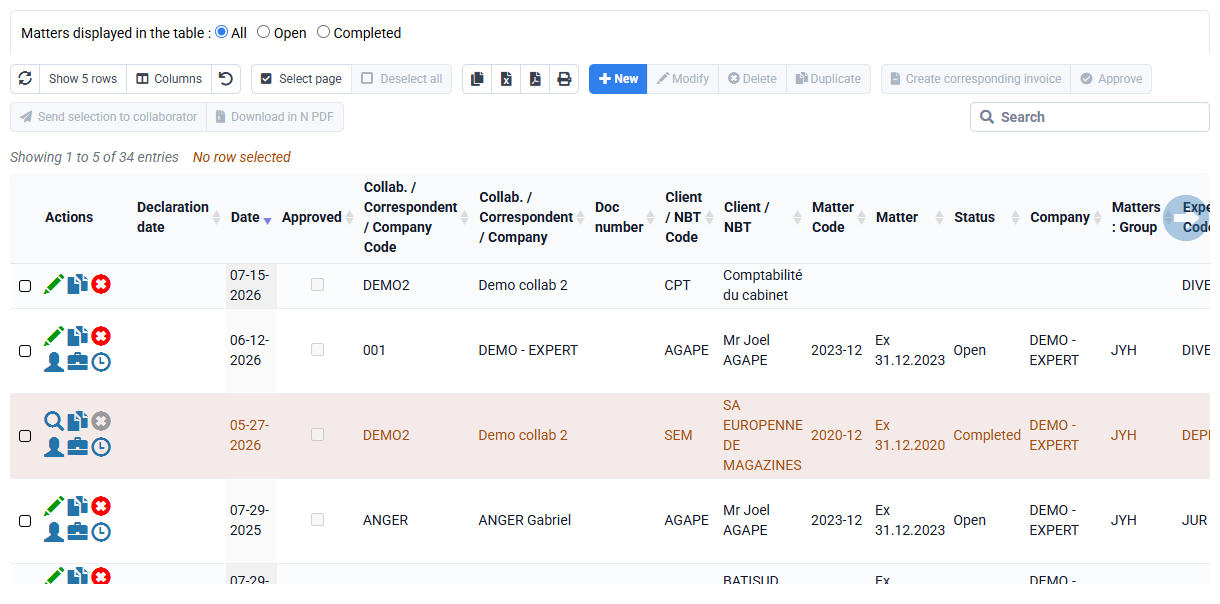
In « Configuration > General options », “Time and expense control” tab, when you check the box “Possible locking of time lines by collaborators with “approval rights”, this has the effect of:
- add an “Approved” column in the list of times and expenses,
- add an “approved” checkbox in the time and expense editing form,
- add an “Approve” button above the list of times and expenses,
- add an additional setting in Collaborators > Login and collaborator rights.

You can give this or that employee the right of approval (and the administrator also has this right), which allows you to approve times and expenses:
- either by editing a time or expense line, and checking “Approved”
- either by selecting N lines and clicking on the "Approve" button above the table => this allows you to approve all the times from such and such a date.
When a line is approved, it can no longer be modified or deleted by a person who does not have approval rights. This person can, however, make other additional entries that may have been forgotten.

In “Configuration > Activities” and “Configuration > Billable task codes”, activities and billable tasks can be associated with each other, to limit entry to certain tasks based on the activity you are doing for that affair. You can [Ctrl] + click to associate multiple activities and tasks together.

- Either you do not link any activity to any task, and all tasks are selectable when entering time.
- Either you link them together, and then your configuration must be complete, each activity being linked to N tasks. And when a collaborator enters time, he chooses a case which is associated with a given activity, and this activity then limits the list of selectable tasks.
In the time entry label, you have two possibilities to transmit a text internally and a label to justify to the customer:
- customer text // internal text: We remove any comments which are after a double slash and concern only internal matters
- internal text # customer text: After the number sign #, we can have a specific wording for the client, and in this case we do not take what is before => it is the opposite of what we do with //
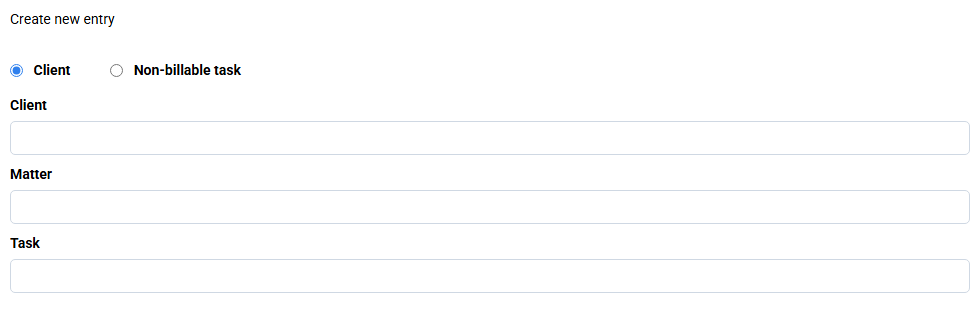
Tempolia offers several time-entry modes to adapt to each employee’s working habits:
- "Actual agenda": the graphical agenda provides a visual interface for recording hours; this is the most widely used mode, about 55% of entries.
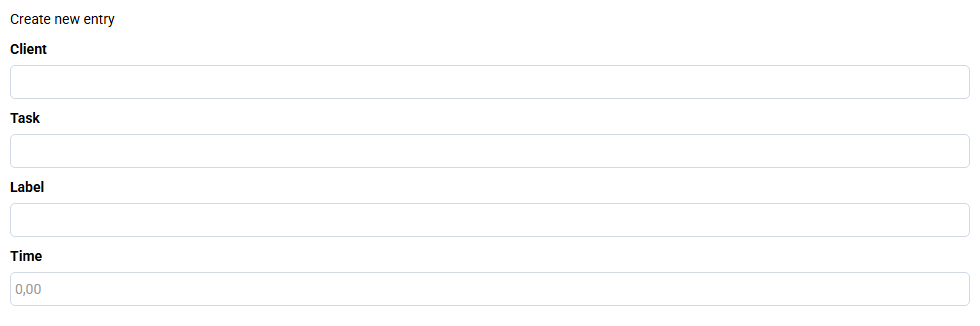
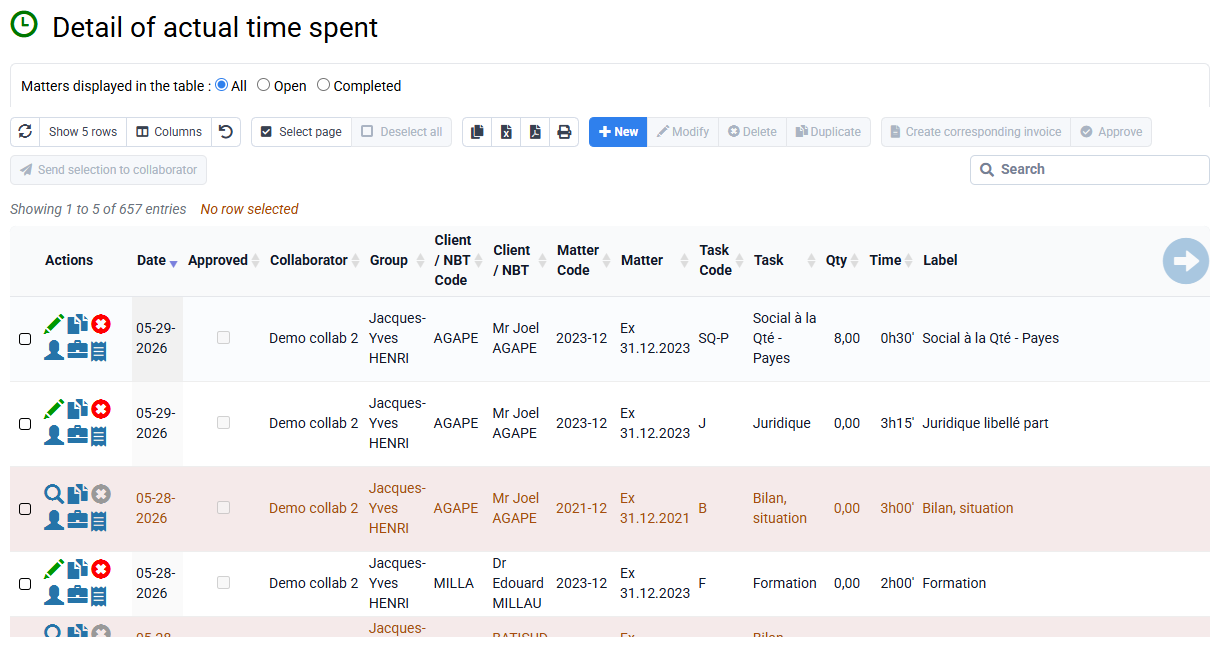
- "Detailed time spent" allows line-by-line entry, with grouped modifications and duplications, representing about 40% of entries.
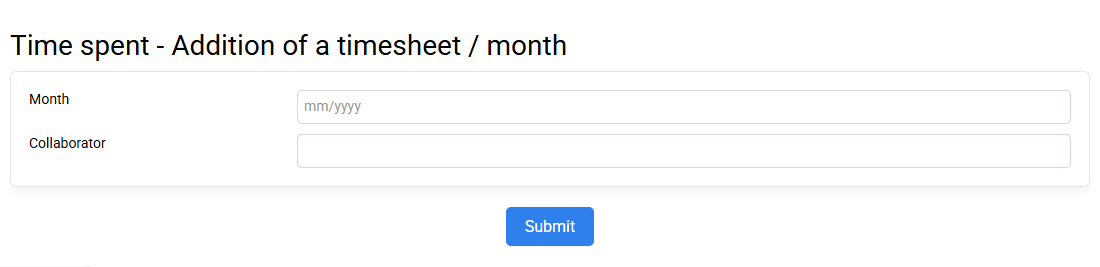
- "Monthly time entry" lets you enter time in cells of a large table with one column per day. Each row represents a client, a matter and a task, and you can also choose whether a label is present on each row.
- Timers, either general at the very top of the screen or by matter on the "actual work by matter" page, are available to record time in real time.
Time can be entered in various formats: hours / minutes, decimal format, or consecutive working days. Tasks are fully configurable, and details or comments can be added for each entry.
Time valuation is a core feature for profitability analysis. Tempolia calculates the cost price to determine actual margin compared with the amount invoiced, and a theoretical sales price to assess bonus / loss. The theoretical sales price can be adjusted specifically for each client, allowing tailored pricing.

The collected data are centralized in client and matter records, where statistics tabs show key indicators such as bonus / loss and margin, and provide an overview with distribution charts.
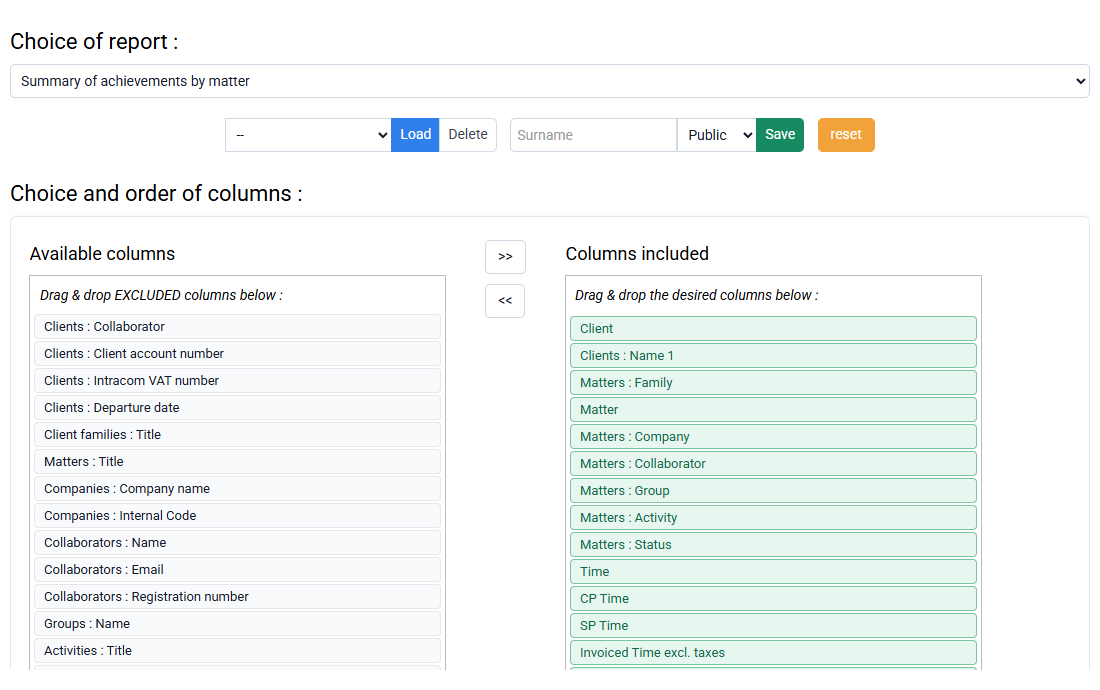
For deeper analysis, Tempolia provides many reports and printouts exportable in HTML format, for PDF printing, or CSV format, for Excel processing. These reports include activity controls by employee, annually, monthly or weekly, details of actual work, and an aged balance for collections monitoring.
To manage your mileage expense entries, you can make several settings:
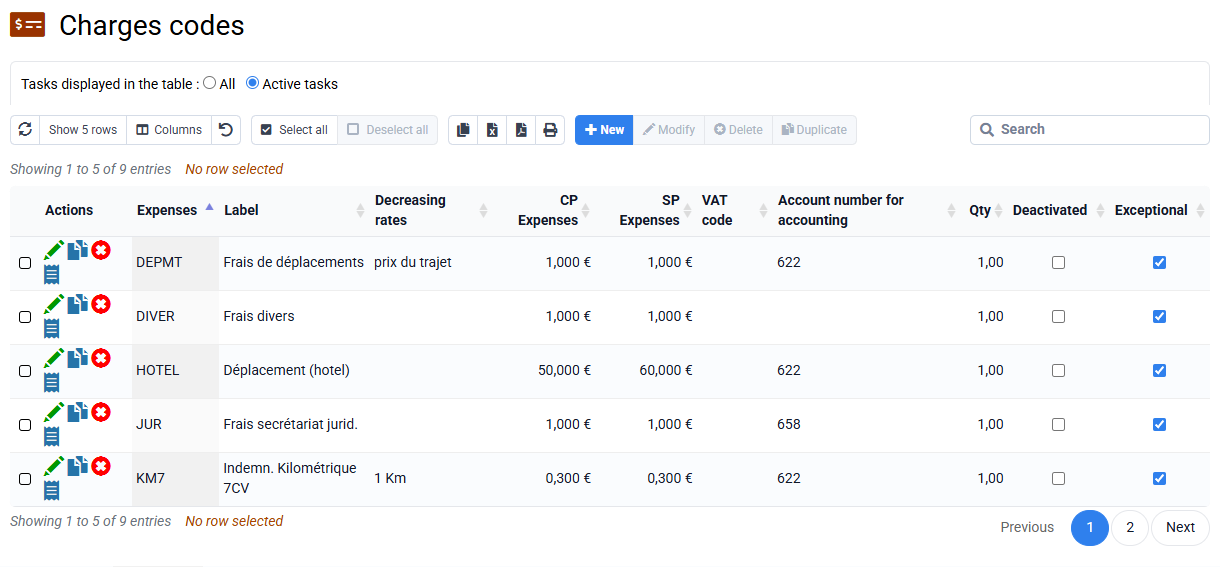
- Configure the expense codes that will be used in the “Configuration > Expense codes” menu. For a thermal vehicle with a fiscal power of 5HP, you can choose IK5 or KM5 as the expense code, and IKE5 or KME5 for an electric vehicle. You can pre-fill the unit PR and the unit PV. It is in fact possible to re-invoice the customer for a PV value different from the employee's reimbursement PR value.
- You can optionally configure the distance in km for a return trip to a customer, in the « Clients / Matters > Clients » menu by editing a customer file in the “Configurable characteristics” tab. This will automatically pre-populate the quantity when entering mileage charges on a customer, and this pre-populated amount can be changed if necessary.
- Other optional setting: in « Employees > Employees » by editing a collaborator file in the “Configurable characteristics” tab, you can fill in the “Kilom Indem. Code” field. which will allow the correct code to be preselected when entering the expenses of the employee concerned and thus avoid any entry errors.
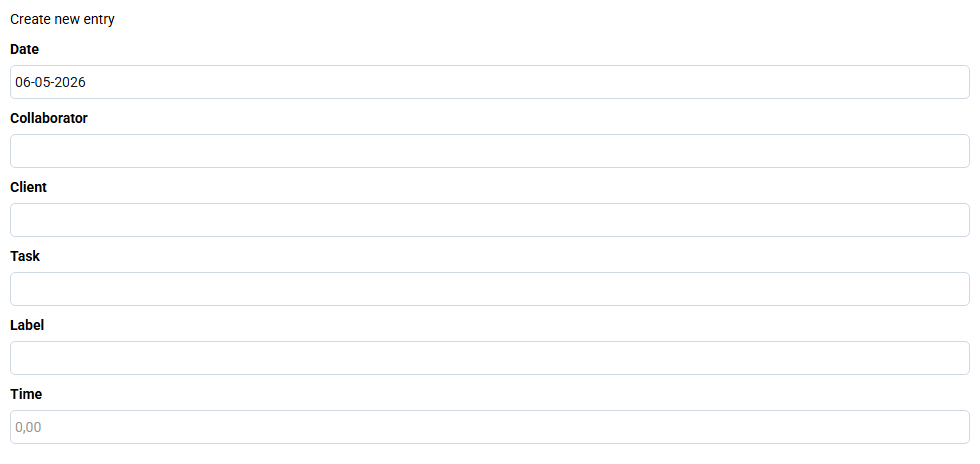
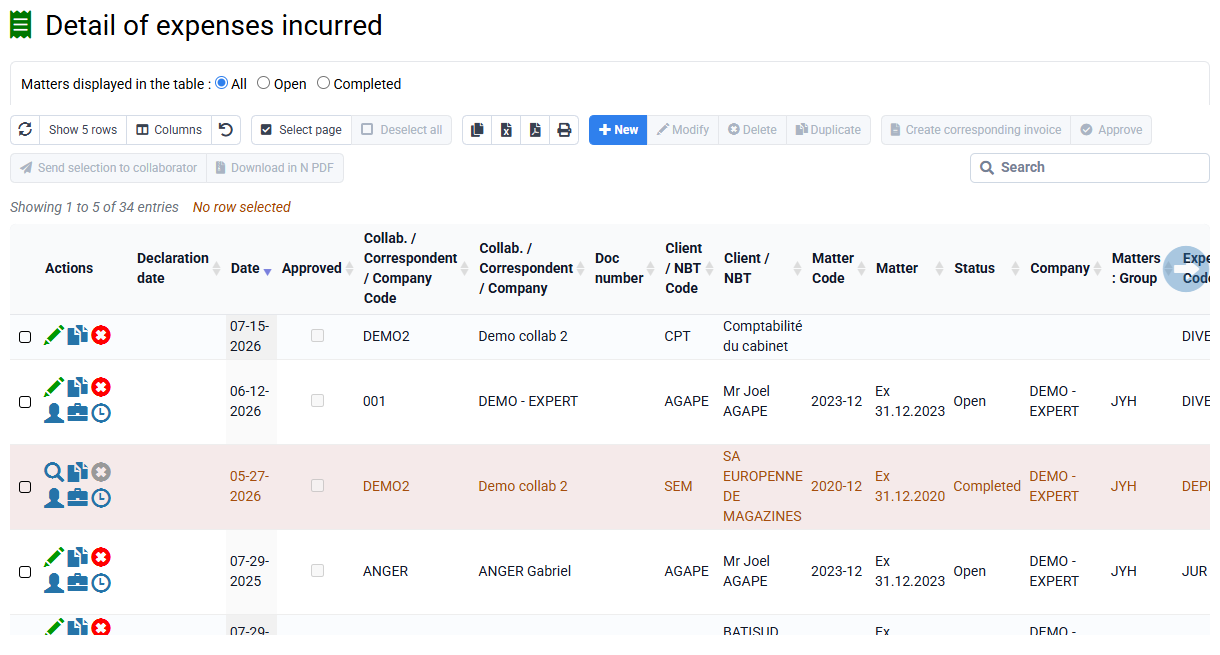
Once the settings have been made, you can enter mileage expenses in the « Time / Expenses > Details of expenses incurred » menu with the New button. The mileage must be entered in the “Quantity” box.

There is only one supporting document that can be attached for an expense line entry.
If each supporting document is a separate expense, you should normally create a line per separate expense, so one per supporting document.
It is also possible to:
- scan several documents together in a single PDF and attach it,
- or take a single photo of several documents placed next to each other (but in this case and the previous one, the OCR can only recognize one of the supporting documents transmitted).
- make a zip file of your multiple supporting documents and attach the zip file (which prevents the OCR from working: the content of this zip file will not be subject to automatic text detection)
As a preamble: to correctly value your time by quantity according to rates specific to certain clients, you can define rates by quantity on the « Configuration > Sales price of tasks per project » page.
This then allows Tempolia to value your pay slips with the correct unit rate.
When you create new matters with bulk matter creation, you can keep the same rates or make increases.
And you can also modify these prices occasionally by modifying them directly.
In Tools > Import, you can import "past times" by downloading a CSV file (you will have previously saved your Excel file in CSV or txt format).
By selecting "past times" as the import type, you will have to drag your column names which will have appeared on the left to our boxes in the database on the right.
The boxes in blue are mandatory: client, case, collaborator, date, task code, and quantity.
Once the match is made, you save your configuration (green button) which will allow you to reload these matches in the future, and you launch the import with the blue button at the bottom of the form: first there will be a verification anomalies, and then an import.
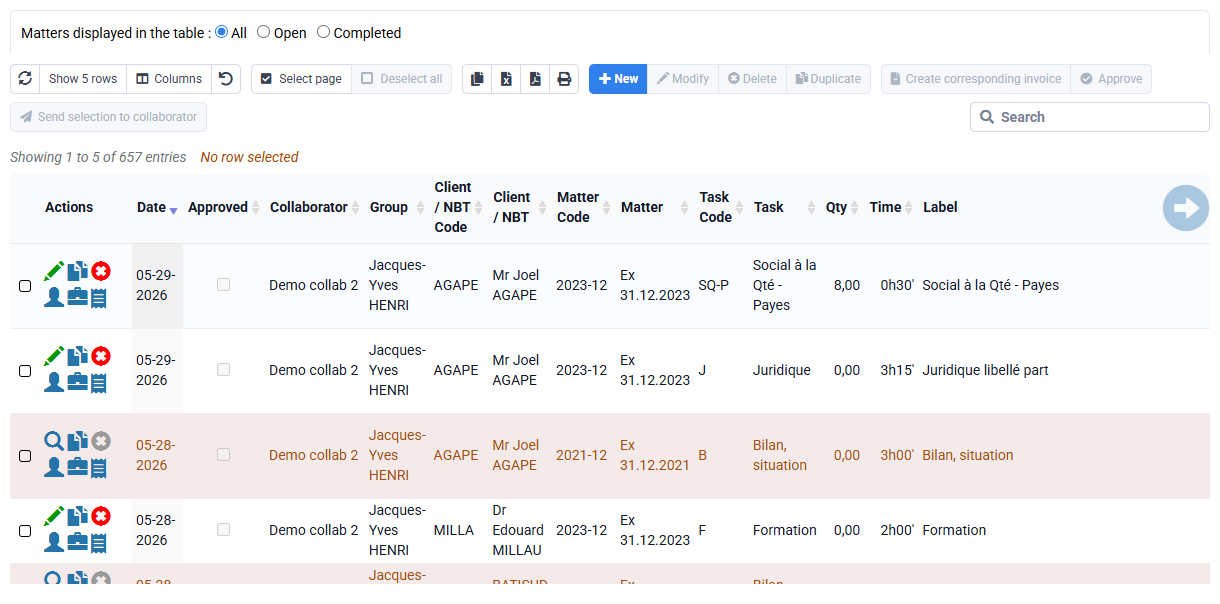
Tempolia provides a powerful feature for managing time entries on the « Time / Expenses > Detailed time spent » page: bulk modification of multiple rows. This feature lets you act on hundreds of rows at once, saving significant time and greatly improving usability. You can correct assignments, for example if many rows were wrongly assigned to a matter, standardize labels, or reclassify time after entry errors.
This capability is generalized across the software interface and is designed to be very fast, running in a fraction of a second even for more than 1,000 rows. The ability to select several time entries and edit or delete them in bulk is a key usability improvement. This flexibility ensures that time and profitability analyses remain accurate, even after major corrections.